


Elementor Functionality Configuration
Elementor is a powerful and intuitive WordPress website editor that provides users with the tools to easily create and customize websites. As an advanced visual editor, it allows users to design various webpage elements through drag-and-drop, creating highly customized, professional, and visually appealing websites.
This article provides a basic configuration guide for Elementor, helping users better understand Elementor's features before using it for WordPress page editing, reducing issues caused by configuration problems. Below is the content table that I have arranged, and readers can also click on the links in the table of contents for targeted reading.
- WordPress Backend Style After Elementor Installation
- General Settings
- Integrations
- Advanced Settings
- Features
Ⅰ、Elementor's appearance after installation
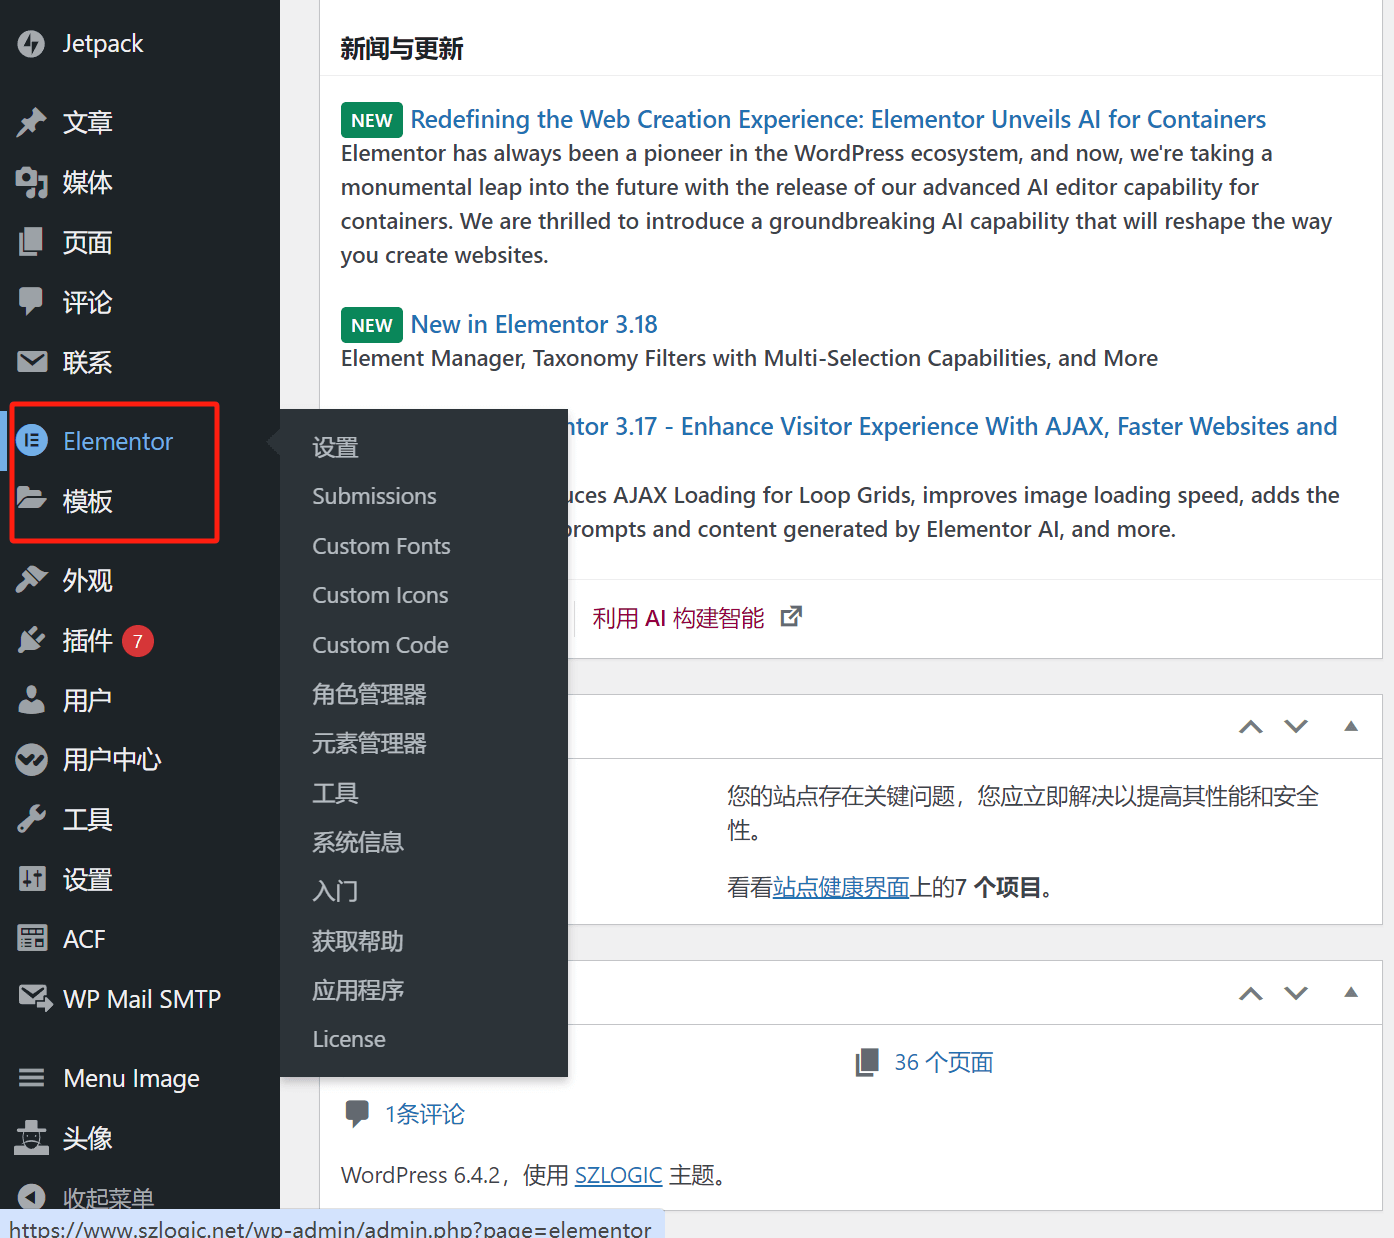
After the Elementor plugin is installed, a corresponding configuration icon will appear in the sidebar of the WordPress admin dashboard. This article mainly explains the configuration of Elementor's feature parameters. The template function under the Elementor icon will be discussed in detail in a separate chapter under the Elementor technical learning section, which will be covered later. For now, it will be ignored. When you hover your mouse over the Elementor icon, a list of all Elementor settings will appear, as shown in the image. Clicking on the “Settings” in the dropdown menu will open the configuration page for setting parameters.

Ⅱ、General Settings
Article Type
This refers to the page and article types that are edited using Elementor. Just keep the defaults. If there is no special application, there is no need to change the parameters here.
Disable Default Roles
The description of this function in Elementor is very clear. When you use Elementor to edit a page, the style and color of the element will inherit the settings in the theme. You can check this box according to your needs. When editing a page, the editor will check this box for the efficiency of page editing. The color style will be configured in the theme settings first.
Disable Default Fonts
If there is no need for custom fonts, this function is generally not checked, so Elementor will inherit the font style of the theme. Domestic companies, whether they are Chinese or foreign language sites, generally do not recommend the use of special fonts because of domestic network connection policy issues. Please find the specific cause yourself. If the network connection with the font style is not smooth, it will affect the loading speed when the website is requested.
Perfecting Elementor
This option is not a specific usage function item. It is just that Elementor hopes to collect some user usage data in order to improve the function of the plug-in itself. It depends on personal wishes whether to check it or not. As a CS practitioner, the editor generally accepts this request in the spirit of benefiting others without harming oneself.
Ⅲ、Elementor Integration
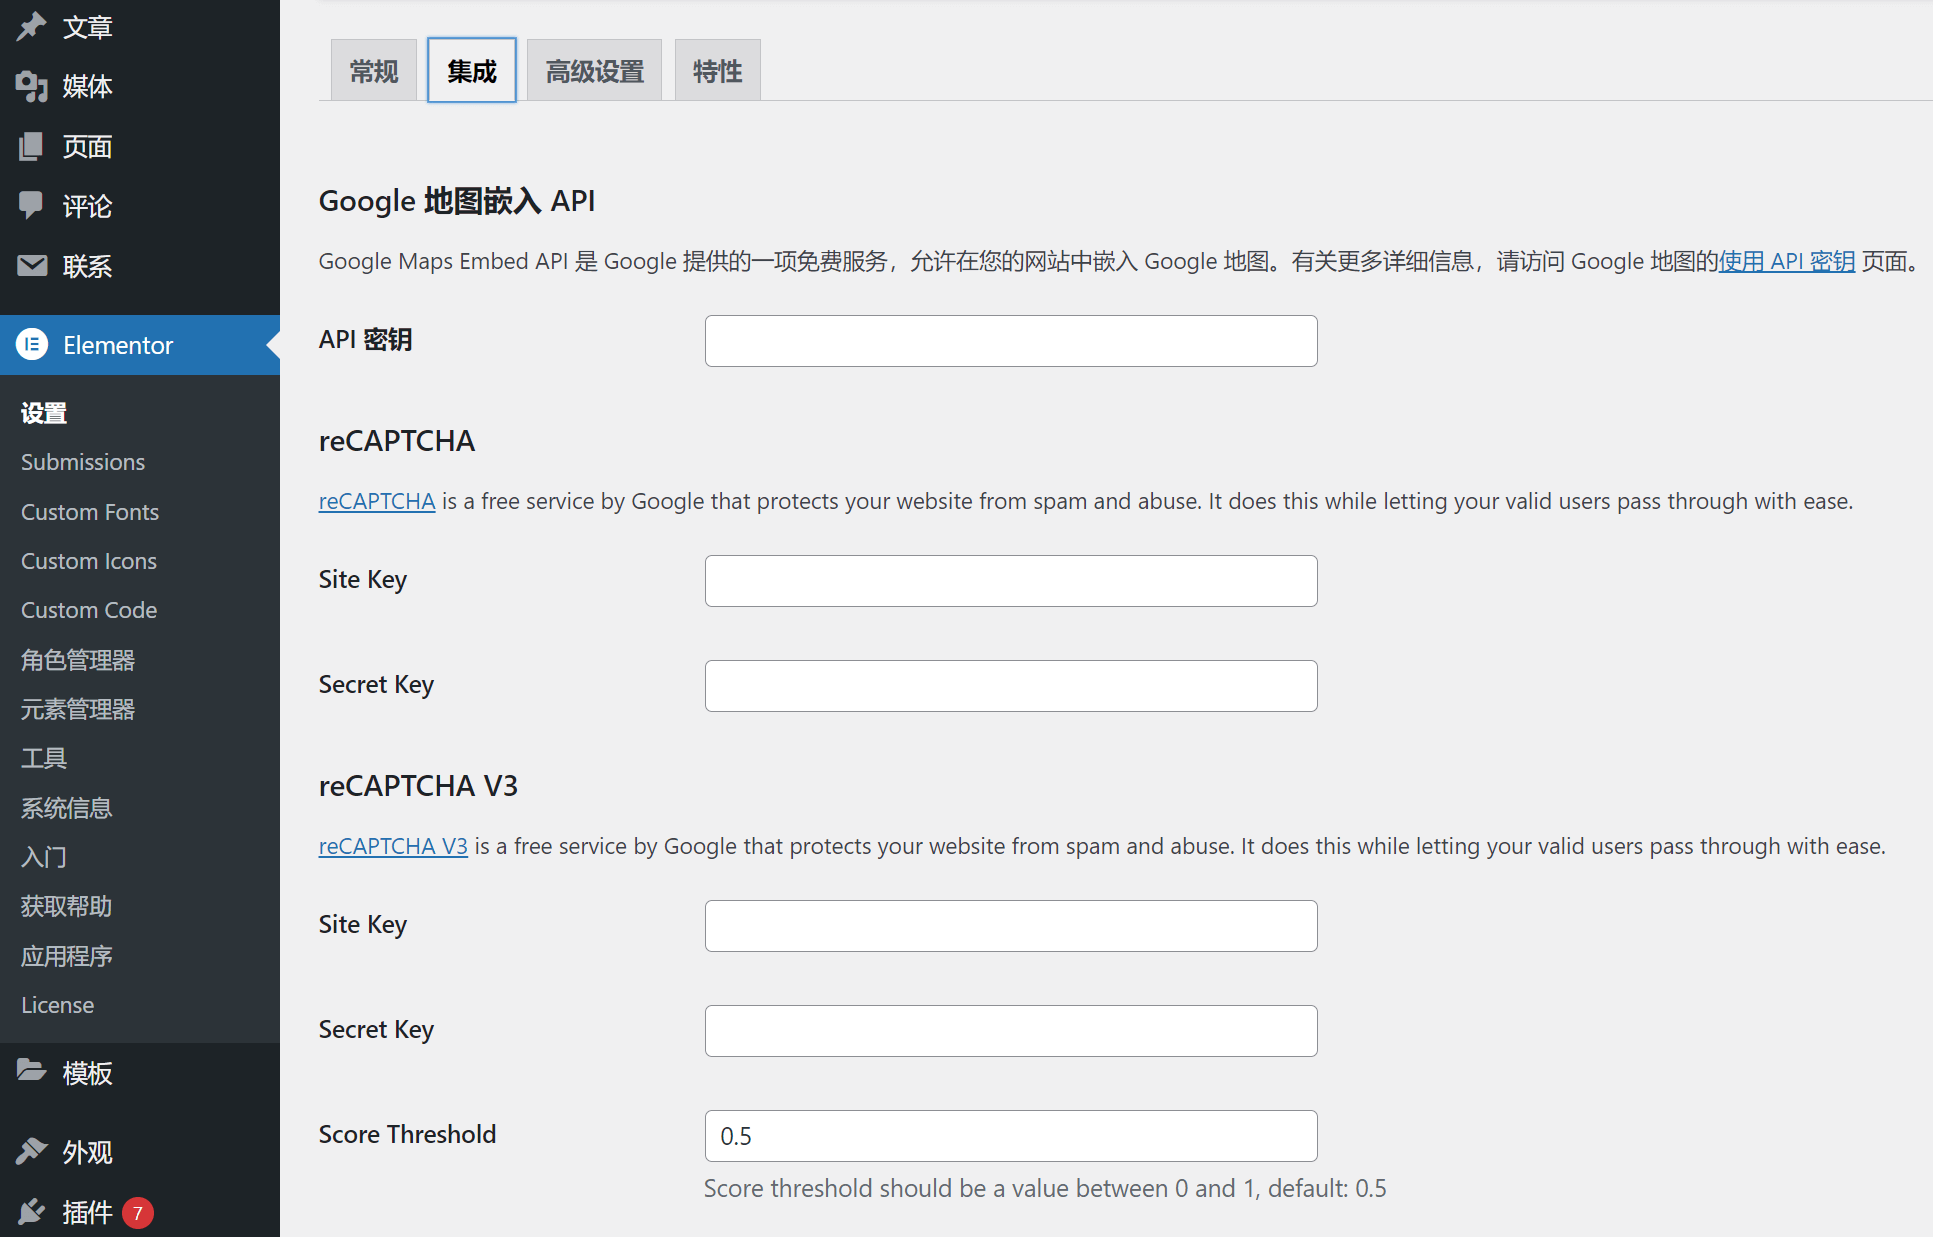
The settings within the integration belong to the advanced usage of Elementor, which is used to access the api-keys of various other applications or systems, so that Elementor and third-party applications can communicate with each other in data. Before explaining the integration function of Elementor, the editor will first explain his own experience to help everyone avoid some time-wasting pitfalls when using the specific functions in the integration. This experience once wasted the editor for about 2 hours doing some useless work. The experience of avoiding pitfalls is that domestic servers cannot use Google's APIs, specifically, the network connection cannot be made. Therefore, Google-related APIs should not be connected to the domestic cloud, and foreign servers will not be affected. If you want to know the specific reasons, please find it yourself. Next, we explain two commonly used integrations, namely Stripe payment and email marketing MailChimp
Elementor integrates with MailChimp and Stripe
In the Elementor integration page, scrolling down will reveal the integration options for MailChimp and Stripe. Before proceeding with this operation, you should first obtain the API key for the application. Copy and paste the API key into the API input box. Once done, you can click the “Validate Test API Key” button below the input box to verify the API. If the verification result is correct, click “Save Changes” at the bottom of the page. If you are already in Elementor's page editing mode, you need to exit the editing mode and re-enter it to use the integration functions you just set up.
Ⅳ、Advanced Settings
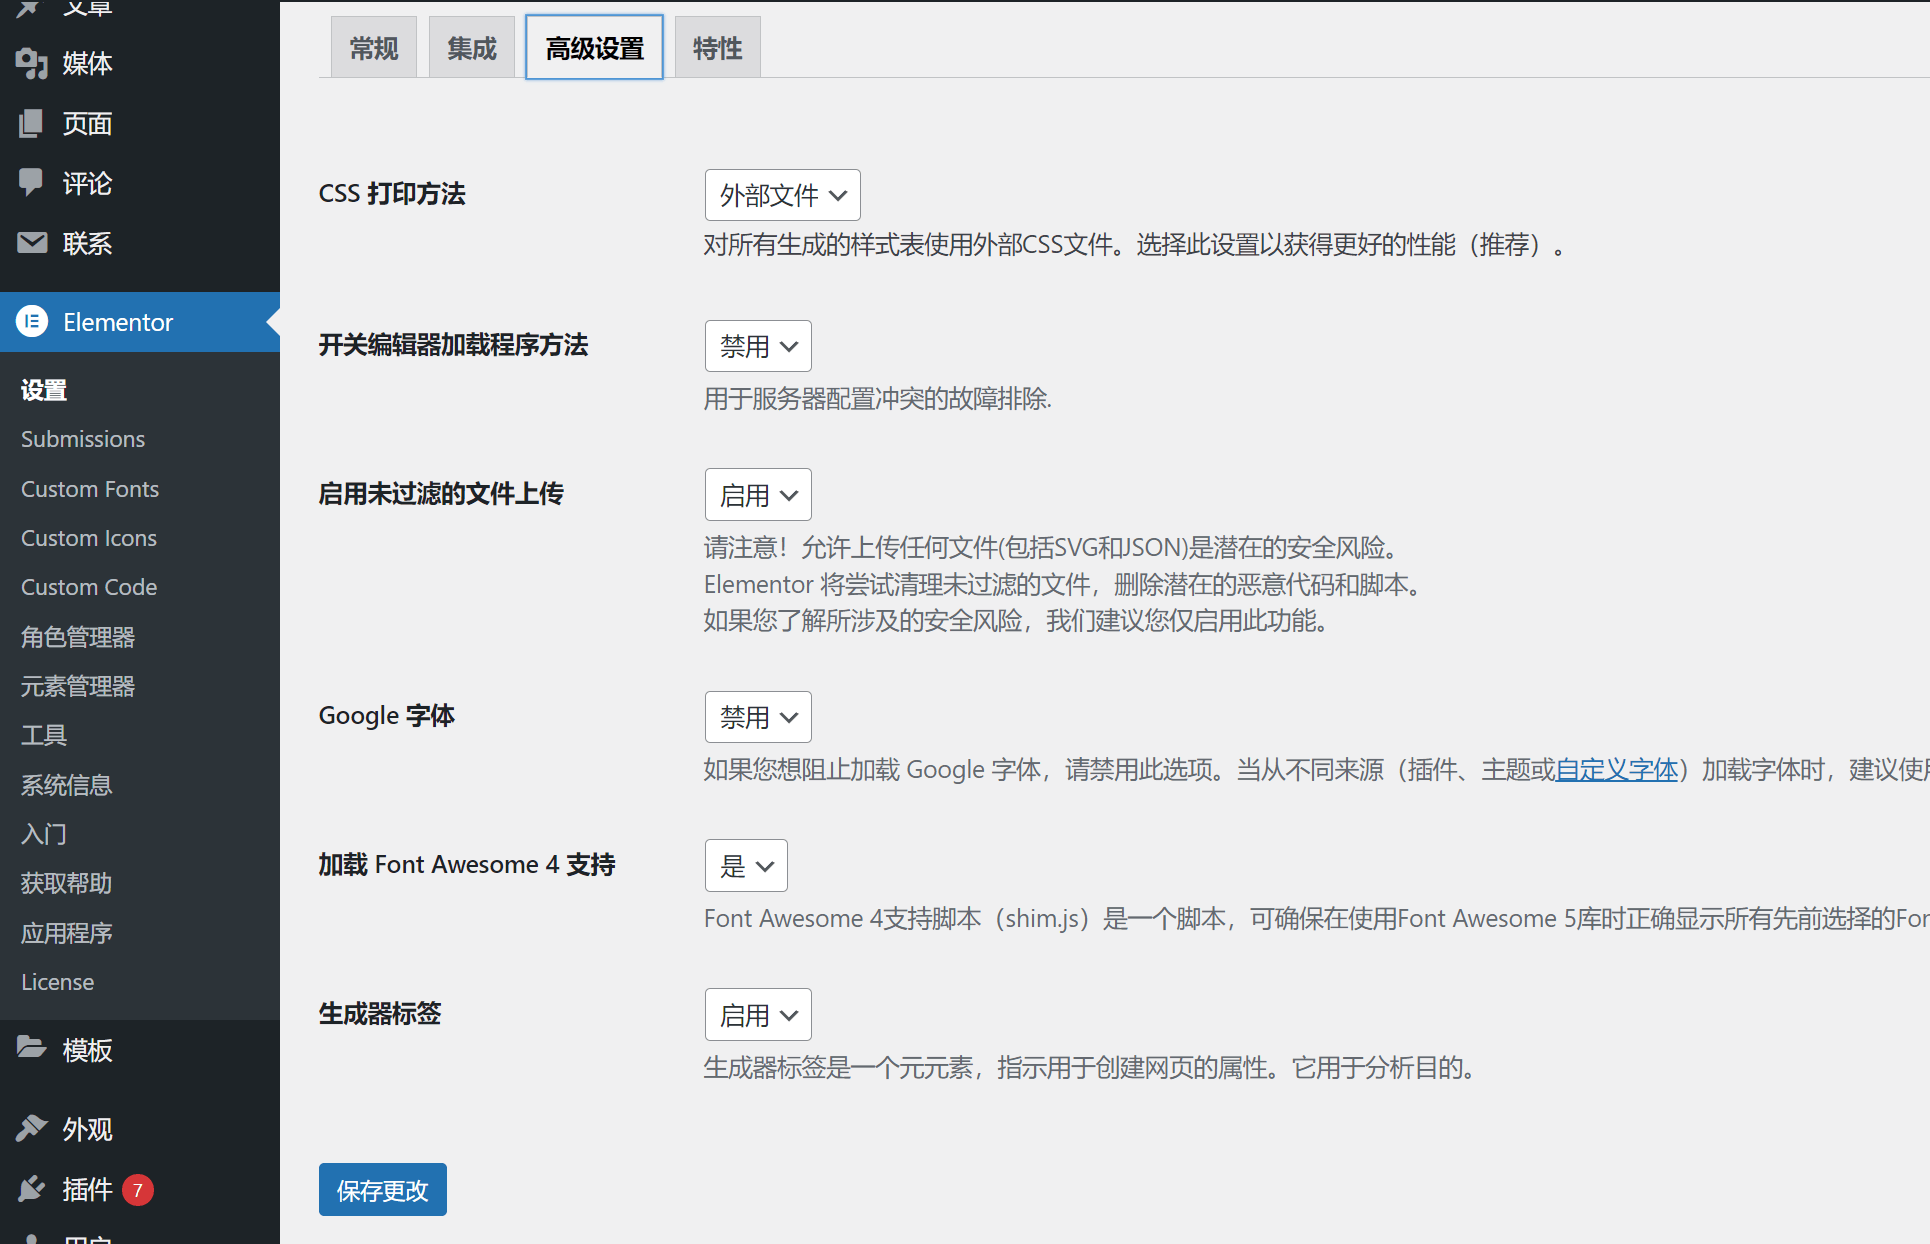
Except for Google fonts, other parameters in the advanced settings can be kept at default settings. Google fonts are generally set to disabled for the following two reasons:
- If the server is located in China, the fonts will be loaded first when the website starts. The network problem mentioned above will cause serious delays in loading.
- If the server is located abroad, you will also feel a delay when you visit the website. It should be noted that the delay in accessing the website using the domestic network does not mean that the access of users abroad will also be delayed. This is determined by the network.
Ⅴ、Features
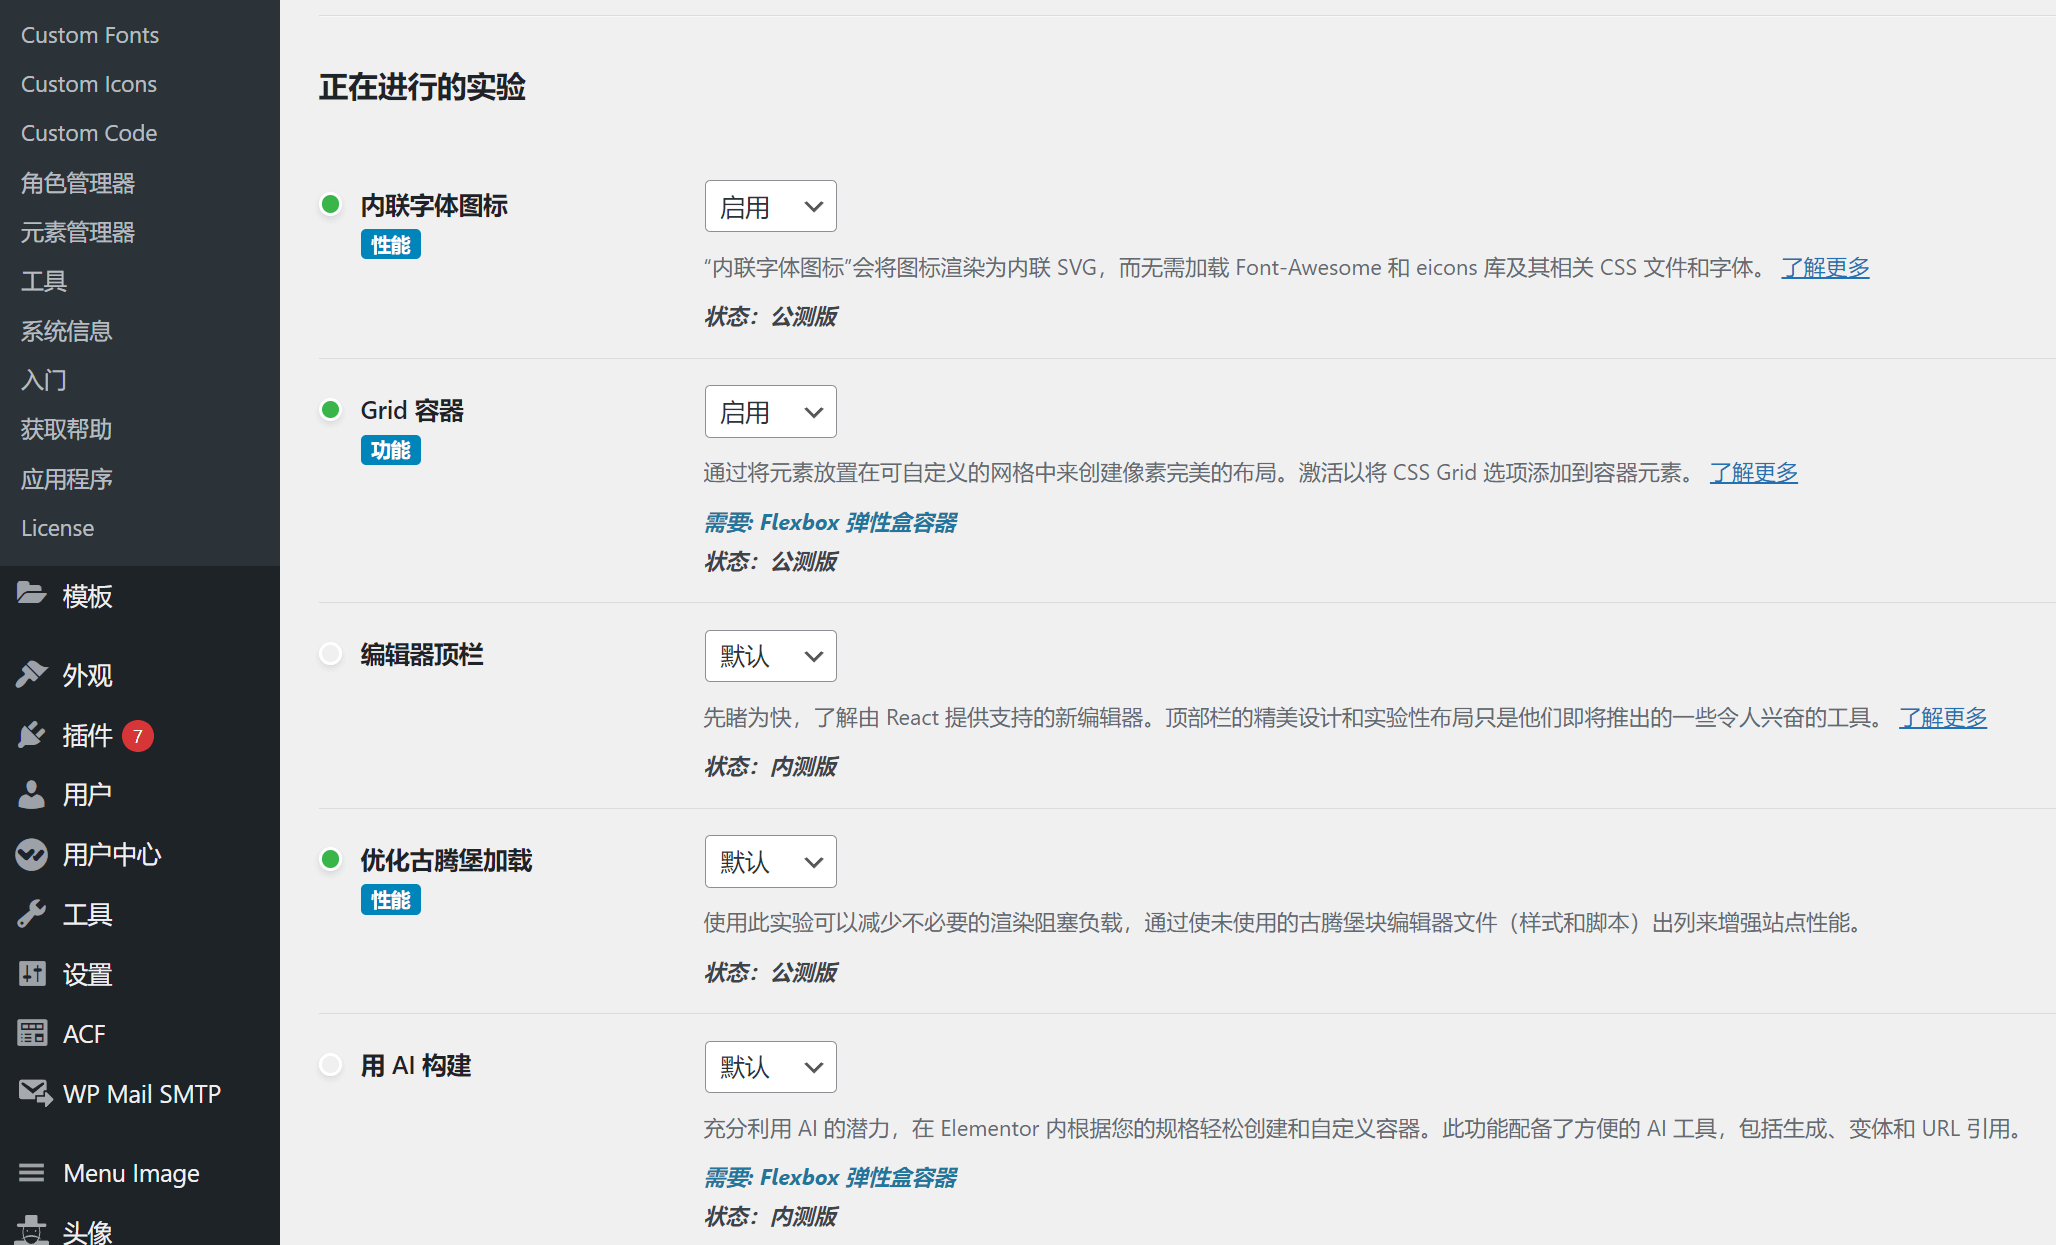
Elementor's features are highly related to HTML and CSS. The feature settings are divided into two categories: experimental features and stable features. Most of them are enabled by default. Regardless of whether they are enabled by default, I will pick out the important ones for explanation.
Grid container
This is a type of container, called a grid container. Using a Grid container to expand the number of grid rows and columns is very convenient, but it lacks flexibility in Elementor editing mode, such as not being able to nest grid levels and not being able to customize the parameters of individual rows and columns. Even though the Grid function is not an option for the editor to create a container, it is recommended to enable it.
Flexbox Flexible Box Container
Flexbox is a flexible container as its name implies. It is also a type of container that I often create. It can well implement hierarchical nesting of containers and customize the size of sub-containers to achieve flexible page layout. This feature undoubtedly needs to be enabled.
Lazy loading background images
This is a function of Elementor to optimize page performance. When this function is turned on, all images loaded in edit mode except the first screen images will be loaded lazily. When users visit the page, the images are not loaded synchronously, which can greatly improve the loading speed of the first screen of the page. This function can also improve the LCP score of Core Web Vitals, which is a good performance optimization parameter. However, this function is still in the experimental stage when the editor wrote this article. All functional items in the experimental stage may be incompatible with other plug-ins. This function should be enabled with caution.
Optimized DOM output
DOM stands for "Document Object Model", also known as DOM tree, which is the name of the structural hierarchy of HTML. Elementor's optimized DOM output function will automatically optimize the structure and markup of HTML to make the code more in line with W3C standards. If there is no custom HTML code, it is a good choice to enable this function to optimize the HTML code.
Additional custom breakpoints
To explain this function, we need to first understand the definition of the word breakpoint. In the field of web development, it can be simply understood as the range of pixels of various screen sizes, and in the field of application development, it is the running range of the program. After understanding the definition of breakpoints in web development, you can understand this function very well. This function allows the page to customize the screen size of the current editing page in Elementor editing mode, such as the screen size of the mobile terminal, the screen size of the tablet terminal, and the screen size of the computer terminal. This function needs to be enabled.
Improved CSS loading
This feature can effectively optimize the way CSS code is loaded. The principle is to asynchronously or delay the loading of CSS, reduce unnecessary rendering when accessing the page, and increase the page loading speed. However, Elementor also mentioned in the description of this feature that it may be incompatible with other plug-ins, so the editor recommends that you enable it with caution, or disable it if you find any abnormalities after enabling it.
Finally, if you have limited time and the cost of learning and practicing technical skills is high, and you have no intention of delving into technical work, then this article may only help you understand the basic configuration of Elementor and the working principles of the WordPress page editor. If you do not plan to handle the operations yourself and would prefer to leave the technical work to a more experienced team, we recommend choosing professional services. The Logic Digital Technology team specializes in WordPress website building and technical development. If you wish to outsource WordPress web design and development, feel free to contact the Logic Digital Technology team, and we will provide you with efficient and professional solutions.
Logic Digital Technology (SZLOGIC) All rights reserved. Reproduction is prohibited.


