Complete Google Site Guide: Setup, Build & Launch

In the cross-border e-commerce industry, “Google website” is a widely used term. It originates from the concept of “Website” and is named from the perspective of Google marketing. Essentially, it refers to websites built by merchants on platform-based e-commerce using a custom domain name, and relying on Google Ads, SEO Optimization, and other promotional strategies to drive traffic and achieve conversions. Compared to sales models that rely on third-party platforms (such as Amazon, eBay), a Google website gives businesses greater control over branding, pricing, and customer data ownership.
In China, many people still find Website Development, design, implementation, and operation somewhat mysterious—especially among those working in cross-border e-commerce. Often, there is a lack of clear understanding about the full process of building a website. This knowledge gap leads to challenges for many businesses when creating a website: not knowing how to plan from scratch, how to leverage the Google ecosystem to acquire targeted traffic, or how to ensure compliance and stable operation. This guide is specifically designed to meet those needs. It takes real-world cross-border e-commerce scenarios as its foundation and systematically outlines the complete process of building a Google website. Starting from Google account registration, the article will walk through key steps such as domain registration, website development, cloud hosting, submitting the site to Google Search Console, and finally launching Google Ads. With practical operational details included, this guide will help you master the process of building a user-friendly, high-performance website.
To facilitate efficient reference for readers, this guide follows a structured writing approach to ensure clear content hierarchy and logical coherence, making it easy for readers with different needs to quickly find the information they require. At the same time, the table of contents is not merely a list of chapter titles, but also fully utilizes anchor links, allowing readers to jump directly to the chapters of interest with one click, eliminating the need for manual browsing and enhancing the reading experience and search efficiency. Now, let's dive deeper into the content of Google's website, with the detailed table of contents as follows:
- Google Account Registration — Opening the Door to Google Website
- Website Domain Registration
- Website Hosting
- Website Design and Development — Building Your Unique Google Website
- Submit Website to Google Search Engine — Start Your SEO Journey
- Create a Google Ads Account — Unlock the Power of Google Advertising
Ⅰ、Google Account Registration — Opening the Door to Google Website

In the process of building a Google website, Google account registration is an essential first step. A Google account is not only the gateway to accessing various Google services (such as Gmail, Google Ads, Google Search Console, and Google Analytics), but also a core tool for website marketing, data analysis, and traffic acquisition later on. Registering a Google account is not just about creating an email address—it’s about building a complete Google ecosystem that allows the website to integrate seamlessly with Google's various marketing and management tools. Once the Google website is officially launched, we need to use the Google account to verify the site and submit the website to the Google search engine via Google Search Console, and use Google Ads to promote products. Without a Google account, there’s no way to leverage the “Google” element of the website; its traffic growth and advertising efforts would lose critical support. This chapter will walk you through the process of registering a Google account to ensure it can be smoothly used in website operations.
1. Why do I need a Google account?
A Google account is more than just an email address—it is a core tool throughout the entire Google website operation process, playing a vital role in website management, data analysis, advertising, and payment management. In terms of website management, Google Search Console allows webmasters to submit website indexing and monitor SEO-related data to ensure strong performance in search engines. Additionally, advertising campaigns are inseparable from a Google account—Google Ads requires an account to be linked in order to create advertising plans and achieve targeted marketing. Therefore, registering a compliant and stable Google account is a prerequisite for the smooth operation of a Google website.
2、Google Account Registration Process
The blogger will now explain and demonstrate the entire process of creating a Google account. If readers are still unable to successfully register a Google account (Gmail) after reading this chapter, please refer to the blogger's earlier published article on Google account registration, titled "Google Email Registration Guide (2025 Latest Gmail Registration Tested and Effective)," where you can follow the detailed steps to complete the creation of your Google account.
(1) Visit the Google account registration page
First, open the Google Account Registration Page. On the page, enter your name and create a unique Gmail address to use as your username. If the chosen username is already taken, the system will suggest other available options, or you can adjust the spelling or add numbers and symbols to create an available address.
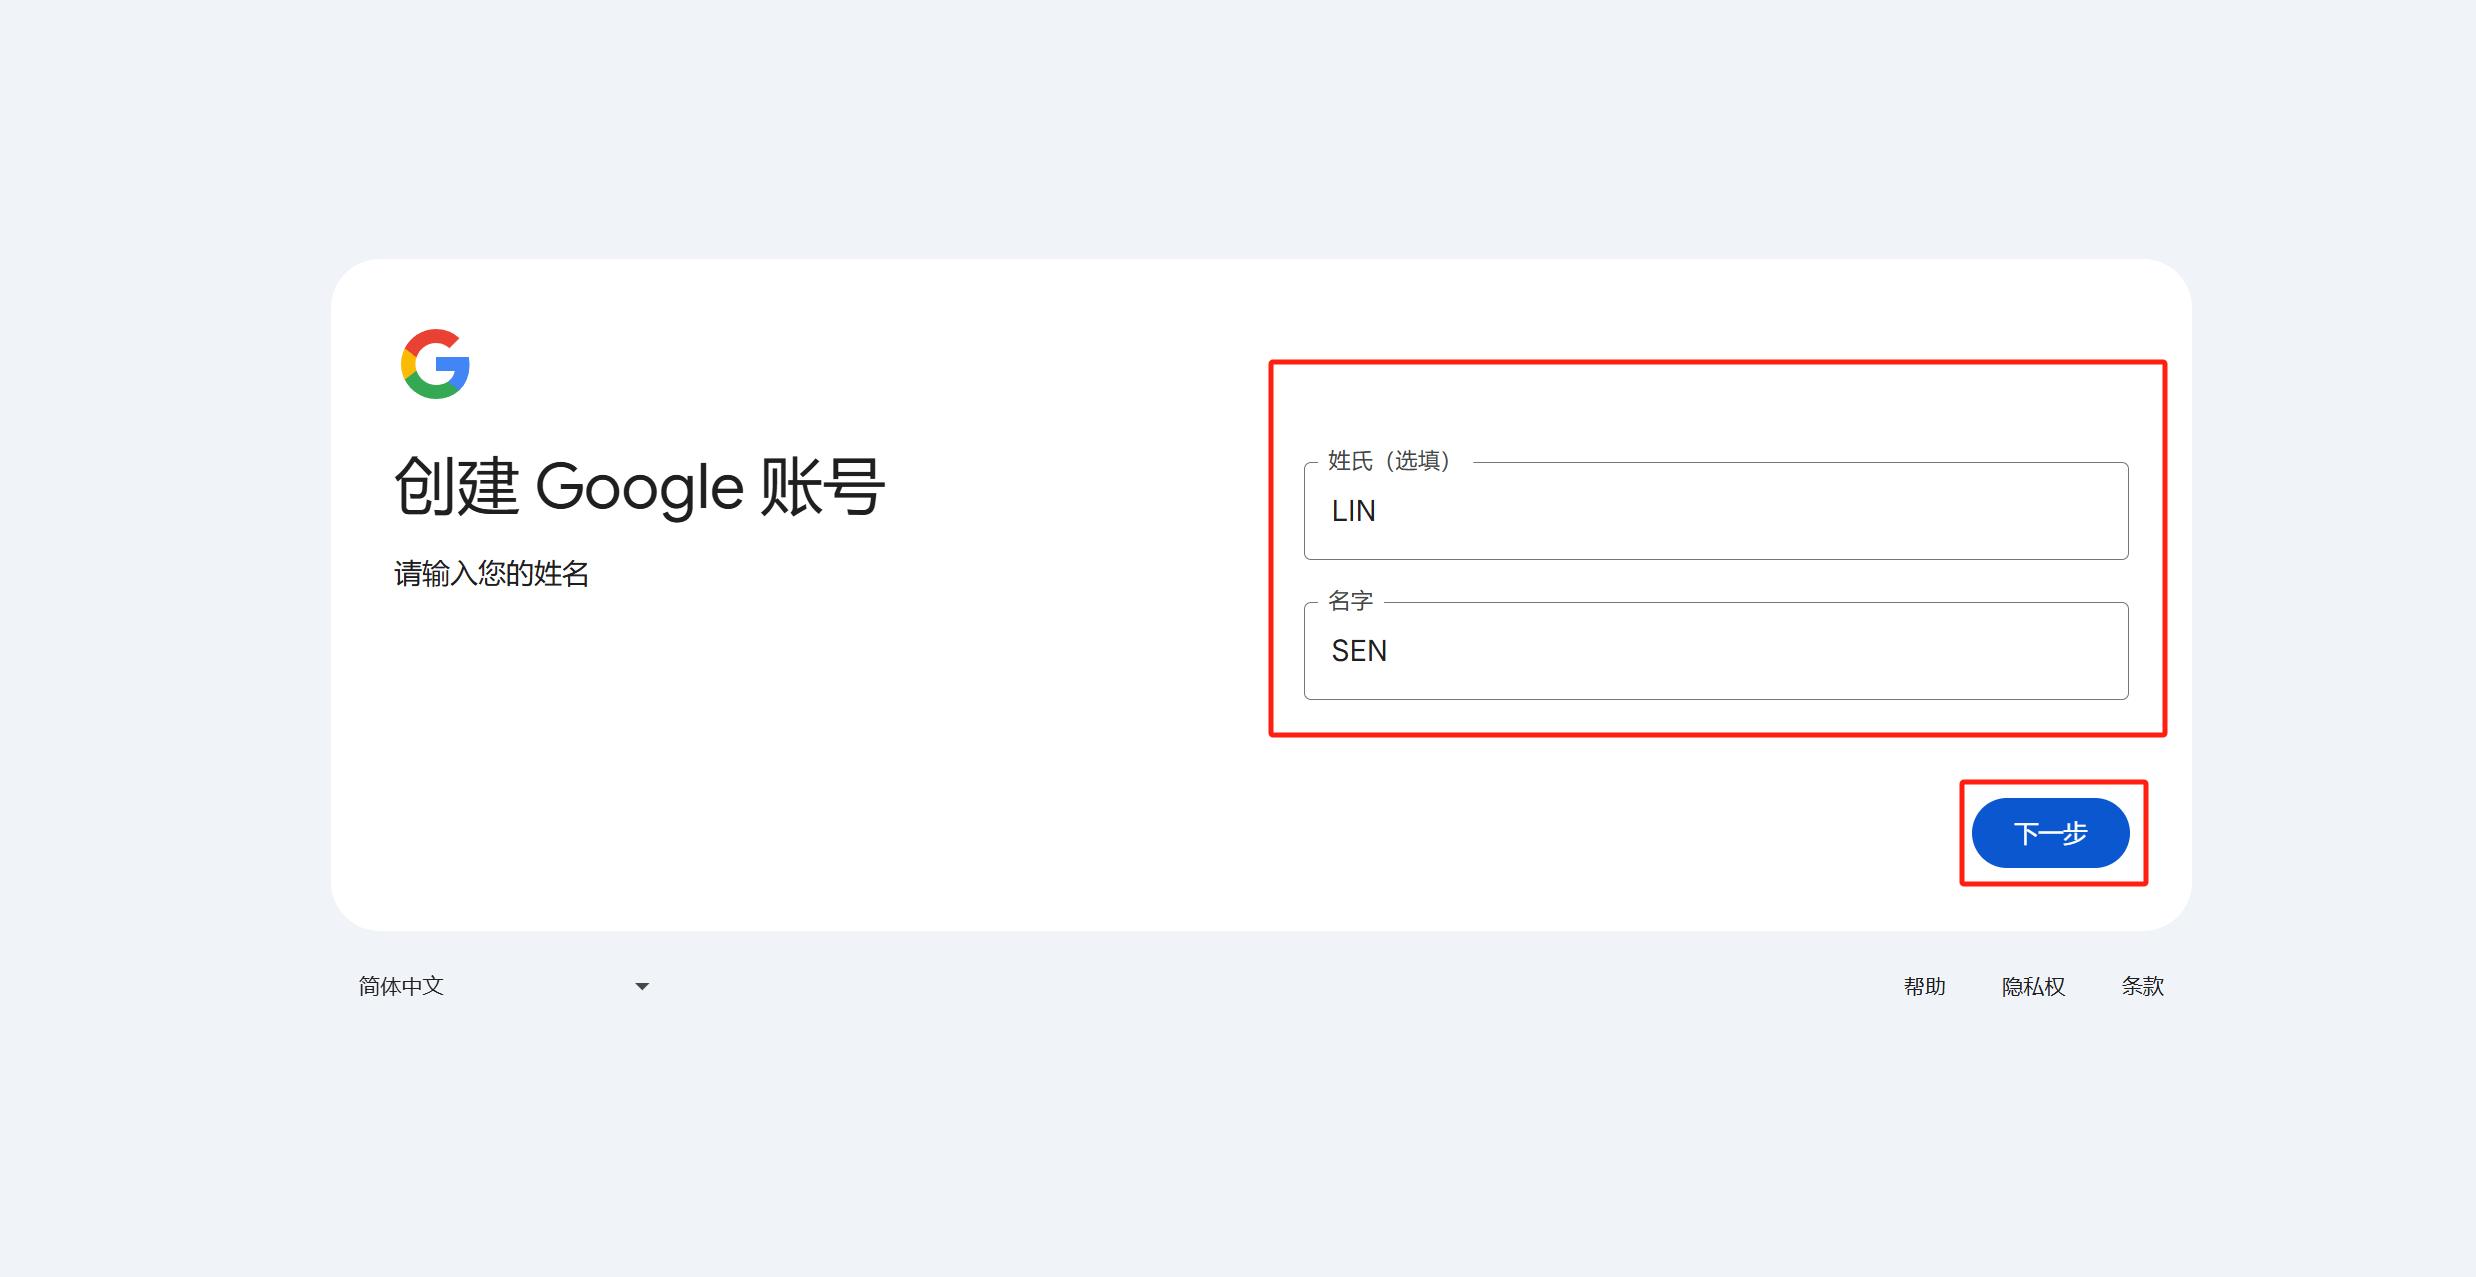
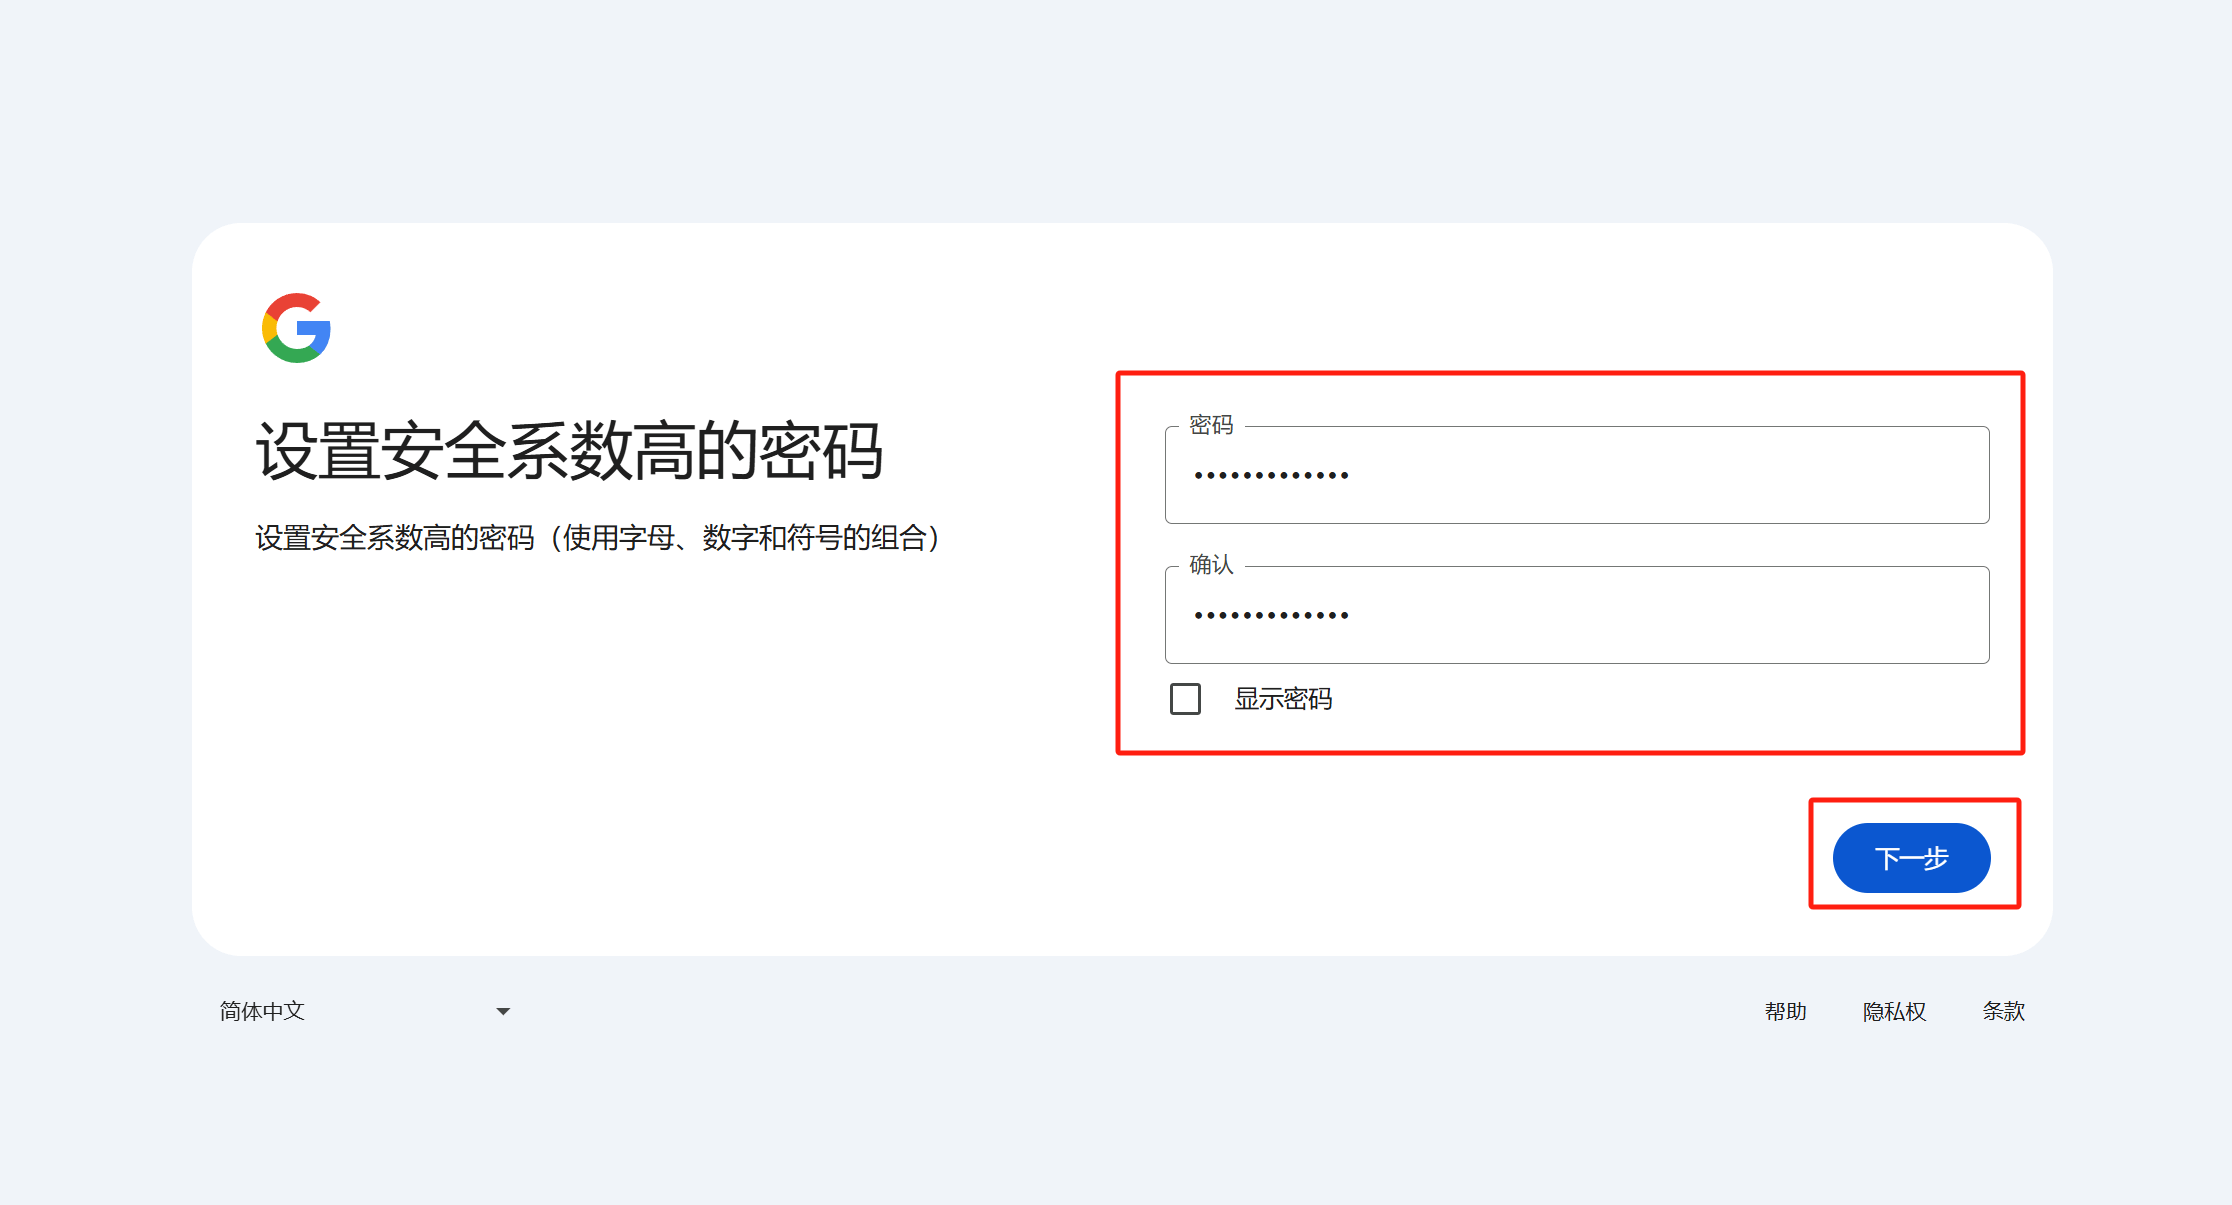
(2) Fill in basic personal information
In this step, users are required to provide their date of birth and gender. Google uses this information to optimize personalized services while ensuring that age requirements are met. Some Google services (such as YouTube) have access restrictions for underage users.
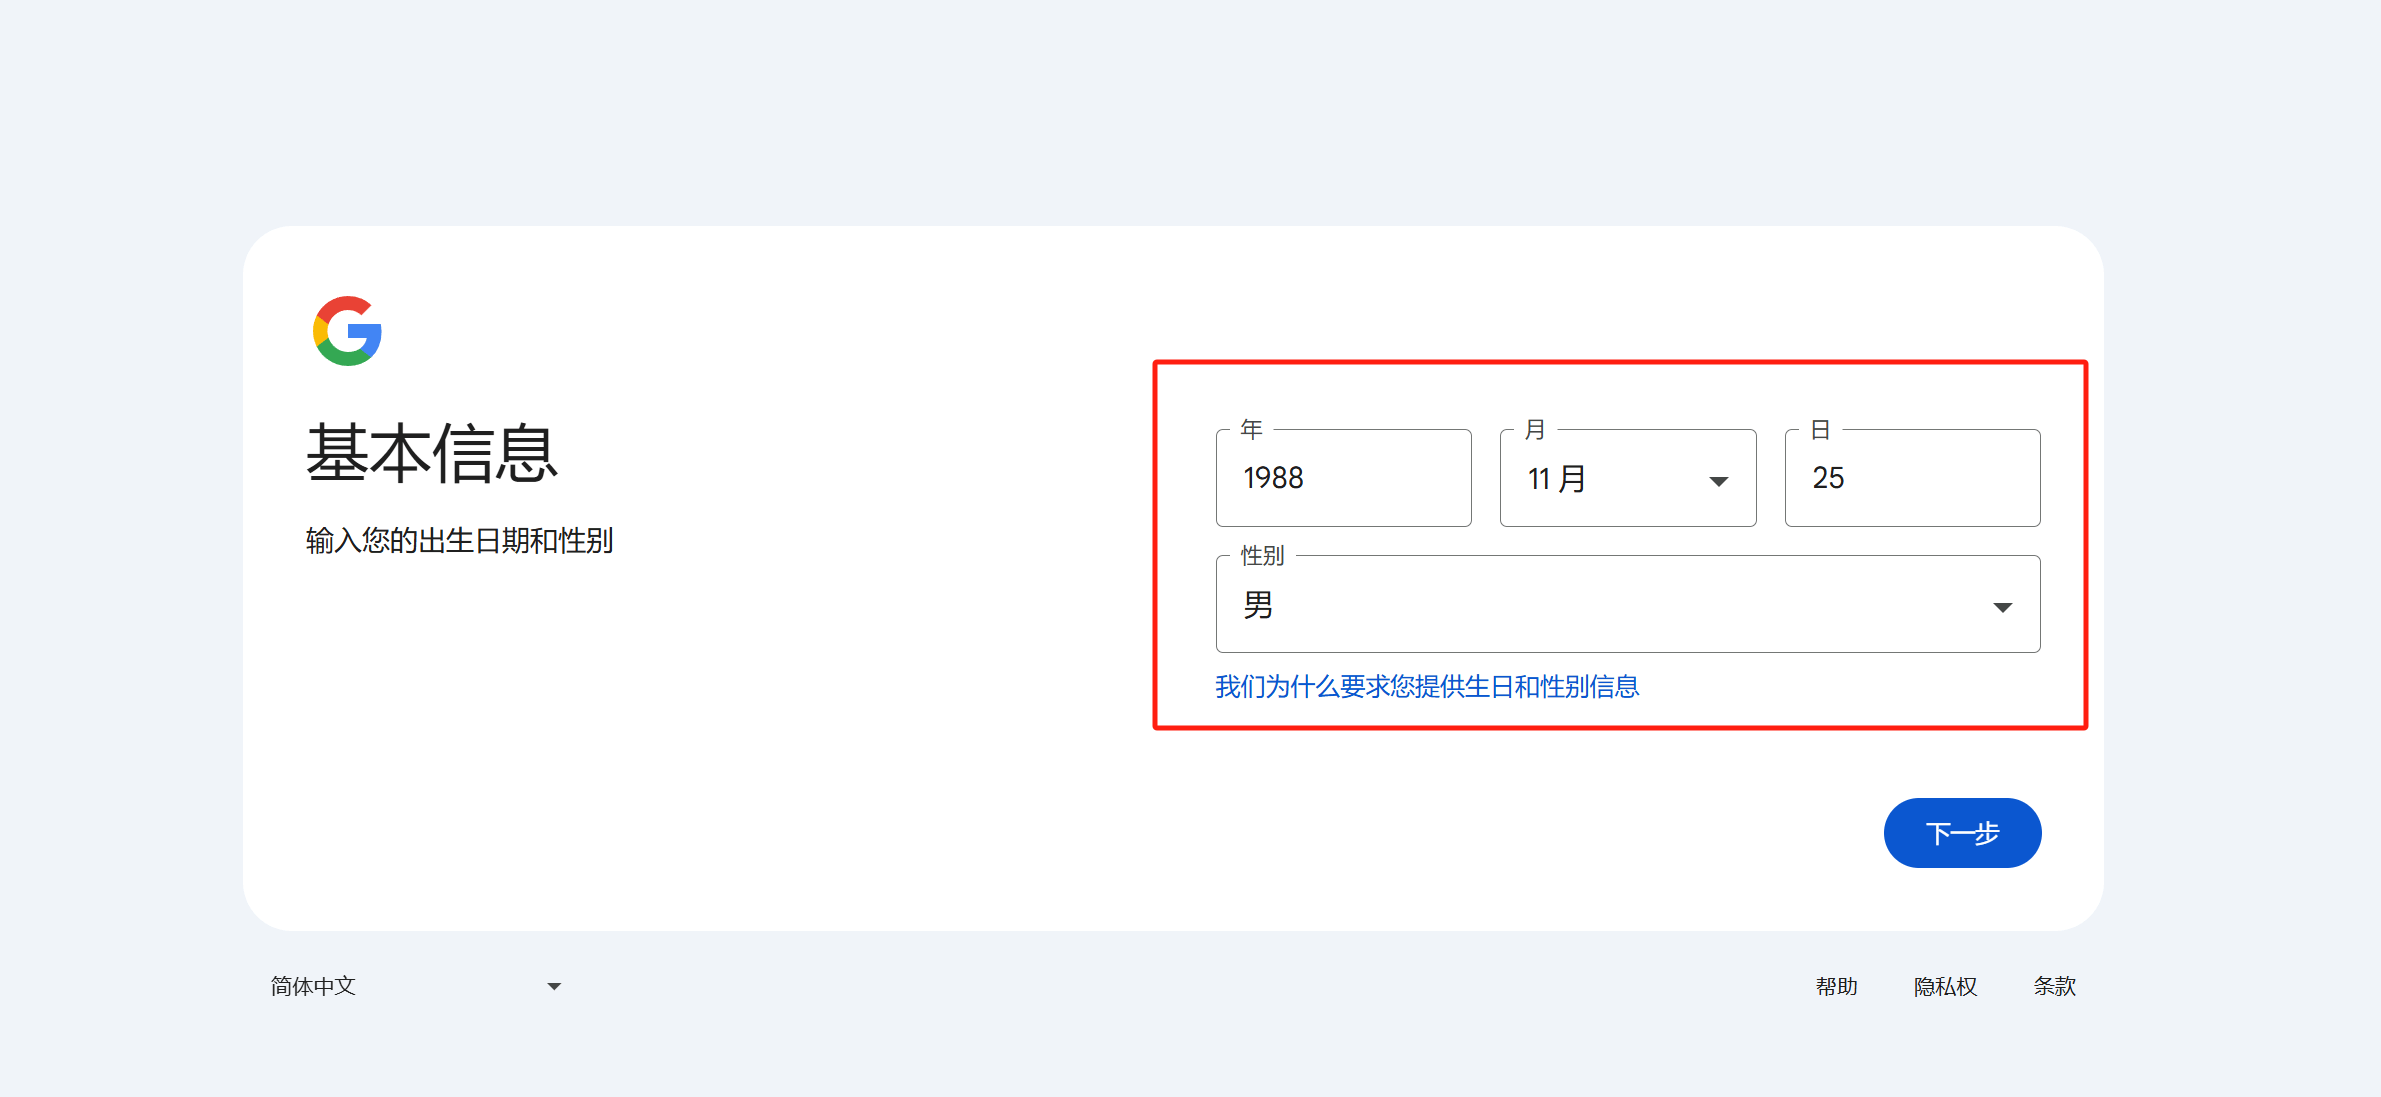
(3) Create a password and confirm it
Next, set a strong password. Google requires a password of at least 8 characters. It is recommended to use a combination of uppercase and lowercase letters, numbers, and special characters to increase security. After entering the password, you need to enter it again to confirm and make sure there are no input errors.
(4) Add a secondary email address
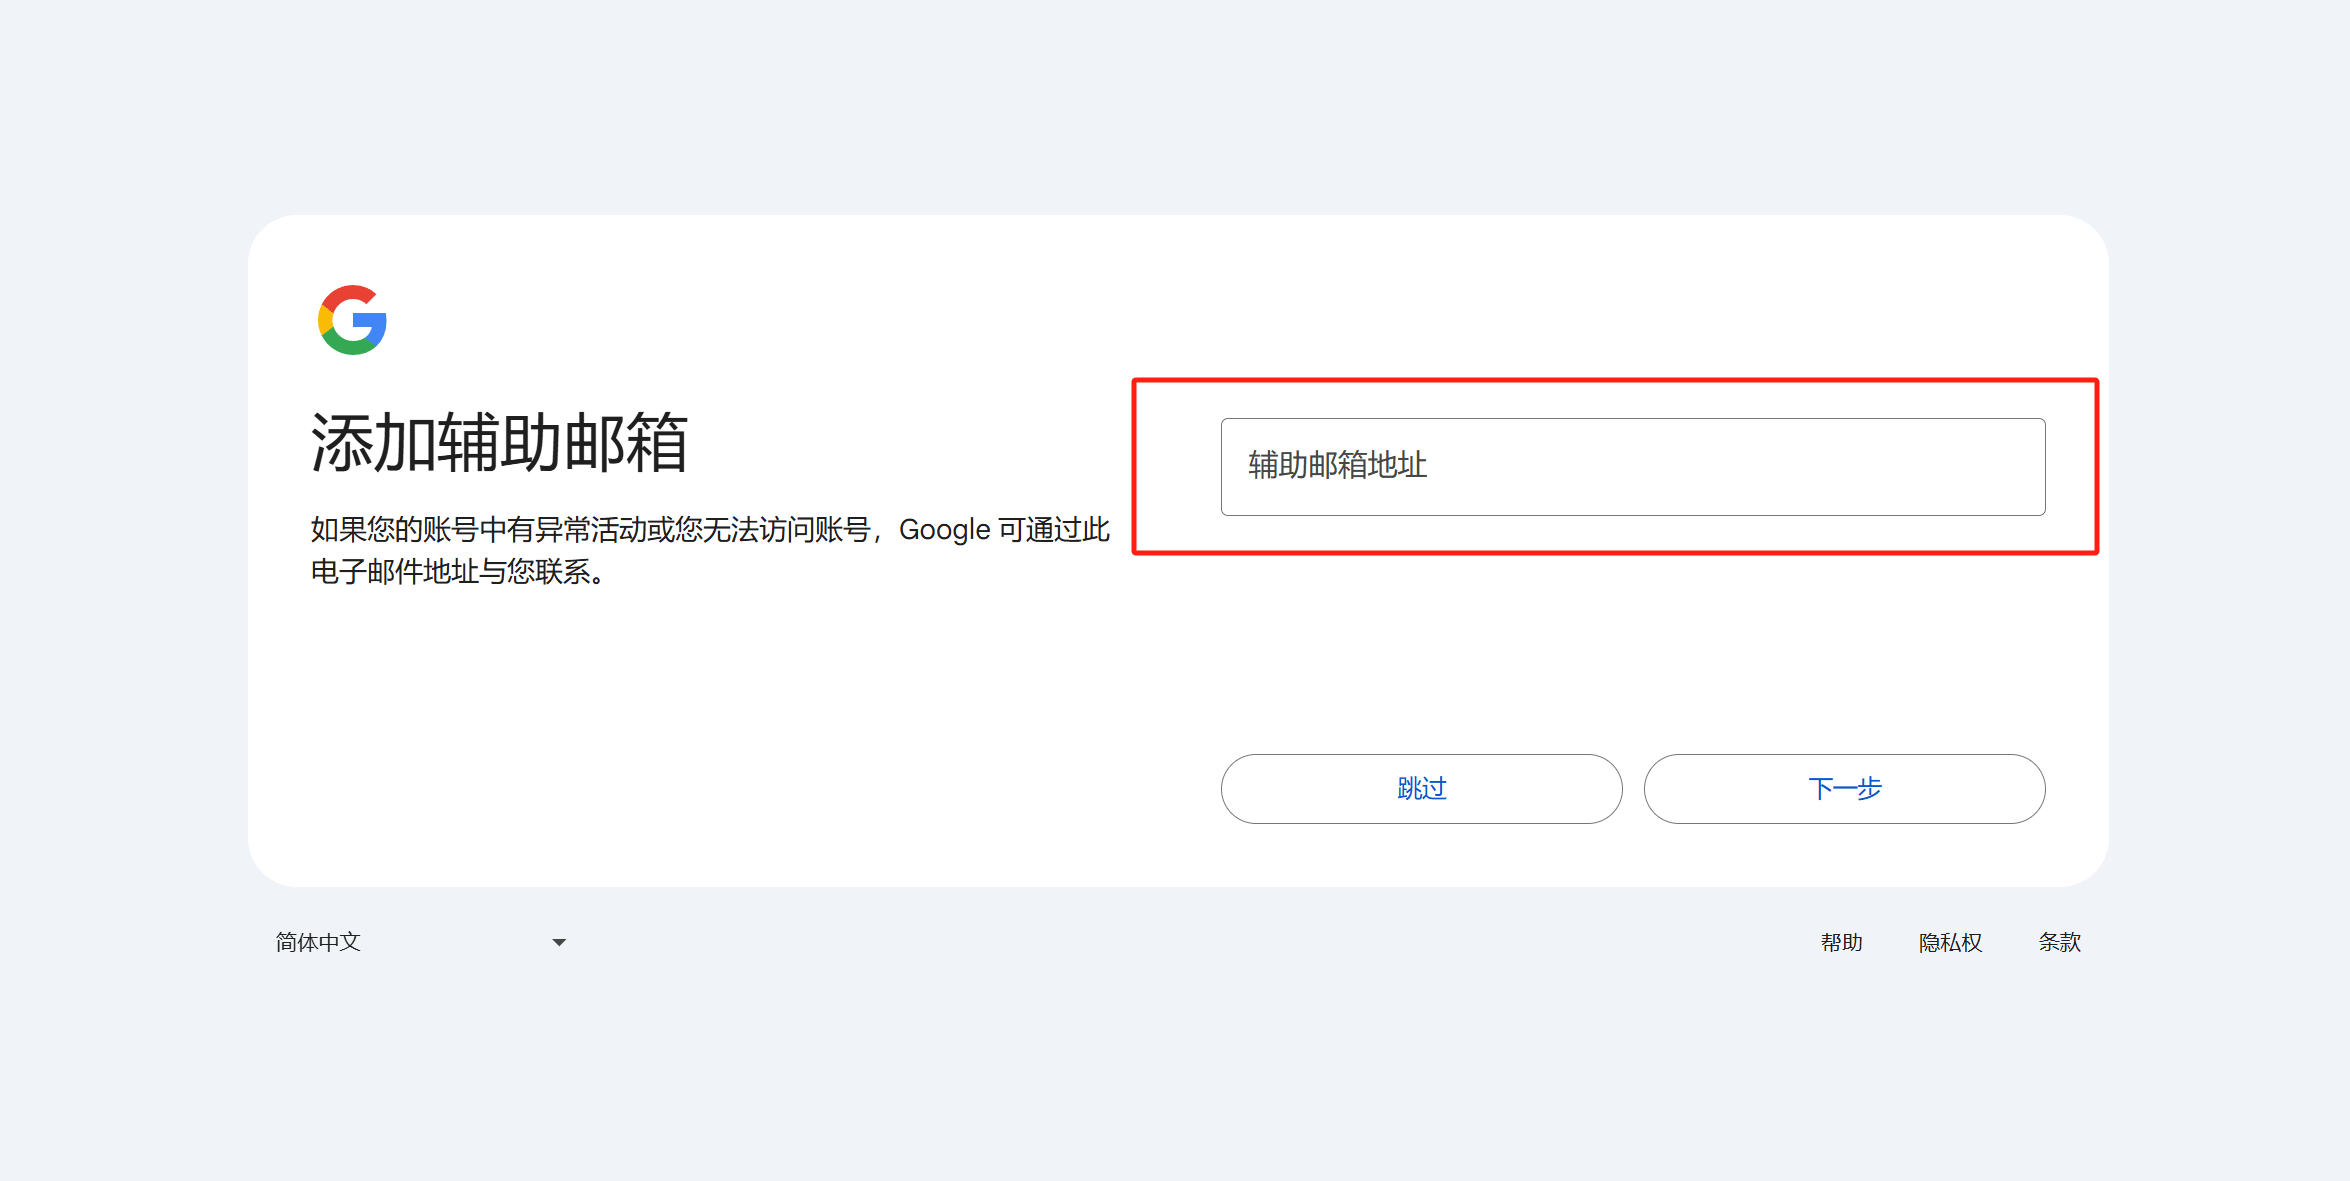
Although binding an alternate email address is optional, it is recommended to fill in a frequently used alternate email address so that you can successfully retrieve your account when you forget your password or your account is abnormal. The alternate email address can receive a password reset link to improve the recovery ability of the account.
(5) Check your account
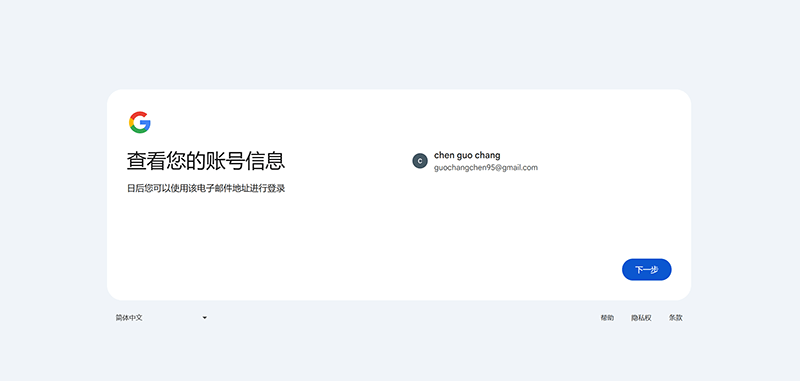
As shown in the picture above, this step displays the Google account information you have successfully registered. Apart from clicking the "Next" button on the page, no other additional operations are required.
(6) Agree to Google's Terms of Service
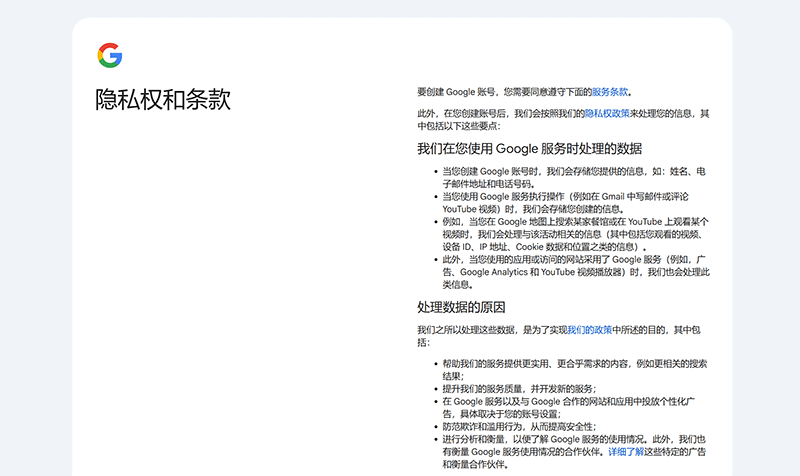
In this step as shown in the picture above, you need to read and agree to Google's "Terms of Service" and "Privacy Policy". These terms detail how Google manages personal data and account usage specifications. It is recommended to read carefully and check the box to agree after confirming that they are correct.
(7) Complete registration and enter Google account management
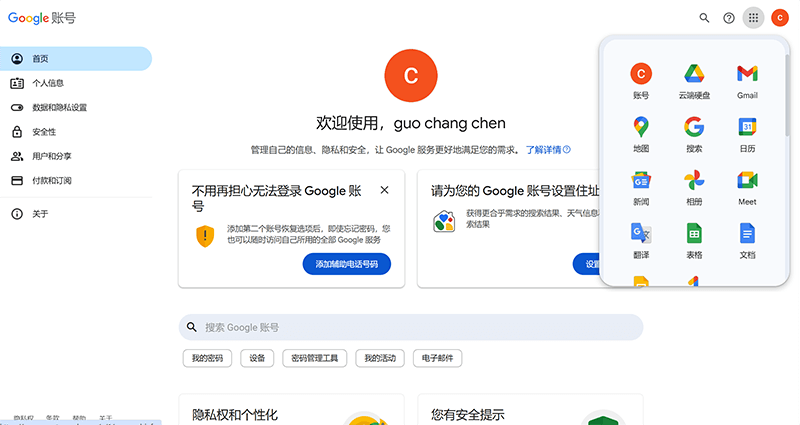
The interface shown in the figure above is the Google account usage homepage. Enable the applications in the Google ecosystem that you need one by one on the Google account management page. From now on, your Google account can be used for various Google services such as Gmail, Google Drive, and YouTube.
Ⅱ、 Website Domain Registration

In the early years, the blogger published a featured article titled Domain Name Registration and DNS Resolution in the LogicThink Digital Technology official website's Tech Academy > Website Tutorial section. This article thoroughly explains the domain name registration process, the principles of DNS resolution, and configuration methods, making it suitable for readers who wish to systematically study this topic. Therefore, in this current content, the blogger will briefly explain the domain name registration process using GoDaddy as an example, with a focus on the subsequent chapters. If you would like to gain an in-depth understanding of the full steps and detailed operations for domain name registration and DNS resolution, it is recommended to read the article “Domain Name Registration and DNS Resolution Tutorial” for a more comprehensive guide.
1、What is GoDaddy?
GoDaddy is one of the world's largest domain registrars, offering a wide selection of top-level domains (TLDs), country-code top-level domains (ccTLDs), and new generic top-level domains (gTLDs). It supports users in quickly searching for, registering, and managing domain names. Its domain registration services include features such as auto-renewal, domain privacy protection (WHOIS protection) to prevent malicious domain hijacking, bulk registration capabilities, and a domain marketplace. In addition, GoDaddy provides domain resolution management and supports DNS record configuration, such as A Record, CNAME, and MX Record, helping users point their domains to websites or servers.
2、Steps to Register a Domain on GoDaddy
(1) Godaddy domain name registration step 1: visit Godaddy

The first step to register a domain name on Godaddy is to visit the Godaddy official website. After entering the Godaddy official website, as shown in the figure above, next, we also need to create a Godaddy user account before we can continue.
(2) Godaddy domain name registration step 2: create a Godaddy user account

To register a GoDaddy user account, you first need to visit the official GoDaddy website and locate the "Create Account" page. On this page, users can choose to register using Facebook, WeChat, or email. If choosing to proceed with Facebook, click the corresponding button and follow the prompts to authorize GoDaddy to access basic information from your Facebook account in order to complete the registration process. If registering with WeChat, clicking the button will prompt the system to guide the user through WeChat authorization, ensuring the account is linked to GoDaddy for easier future account management and login. For users who prefer to register with an email address, clicking “Continue with Email” will require entering a valid email address and setting a secure password. Next, users may need to check their email inbox for a verification email from GoDaddy and click the included link to complete email verification. During the registration process, GoDaddy may ask users to read and agree to its "Universal Terms of Service" and "Privacy Policy." Once all steps are completed, the account will be successfully created, and users can log in to GoDaddy using the account to manage domains, hosting services, or other related products.
(3) Step 3 of registering a domain name with Godaddy: Query the domain name

The content shown in the image above is the result page returned after querying the domain. Once you've confirmed that the domain type is still available for registration, click the shopping cart button on the right side of the corresponding domain, and the domain will be added to your shopping cart. At this point, a footer with the shopping cart and continue operation options will appear at the bottom of the page. Click the "Continue" button to proceed with the next steps.
(4) Step 4 of registering a domain name on Godaddy: Select a domain name and complete the payment process

As shown in the image above, after confirming the domain and any additional services, users can click “Continue to Cart,” and the system will guide them to the checkout page. On the checkout page, users need to enter payment information, including credit card, PayPal, Alipay, or other available payment methods, and fill in the corresponding billing information. After reviewing the order details and confirming that everything is correct, click “Complete Purchase” to finalize the payment process. Once the payment is successful, users will receive a confirmation email from GoDaddy, which contains order details and guidance on managing the domain. After that, users can log in to the GoDaddy account dashboard to view the purchased domain and proceed with further configurations such as DNS settings and website binding.
Ⅲ、Website Hosting

Website Hosting is one of the core components in building a Google website. It determines the website’s speed, stability, security, and overall user experience. Simply put, website hosting refers to storing your website’s files, database, and related resources on a server, making the site accessible to users around the world via the Internet. The choice of hosting service directly affects website performance and search engine optimization (SEO) results. A high-quality hosting service ensures fast load times, stable performance, and data security, which improves user experience and helps gain an advantage in search engine rankings. For a Google website, hosting is more than just providing storage space—it involves server configuration, SSL certificates, security protection, CDN acceleration, database management, and more. In this chapter, the author will focus on explaining the differences between beginner-friendly hosting servers for Google websites and high-performance hosting servers for Google websites. For website beginners, choosing a user-friendly, easy-to-configure, and reasonably priced hosting plan is crucial. Therefore, we will introduce beginner-friendly shared hosting and managed cloud servers to help new users quickly build a stable website. For users looking to boost website performance and optimize loading speed, we will also explore high-performance hosting solutions and analyze how they offer stronger computing power, faster speeds, and higher security to support business growth needs.
1、User-friendly Google Website Hosting Server for Beginners: SiteGround
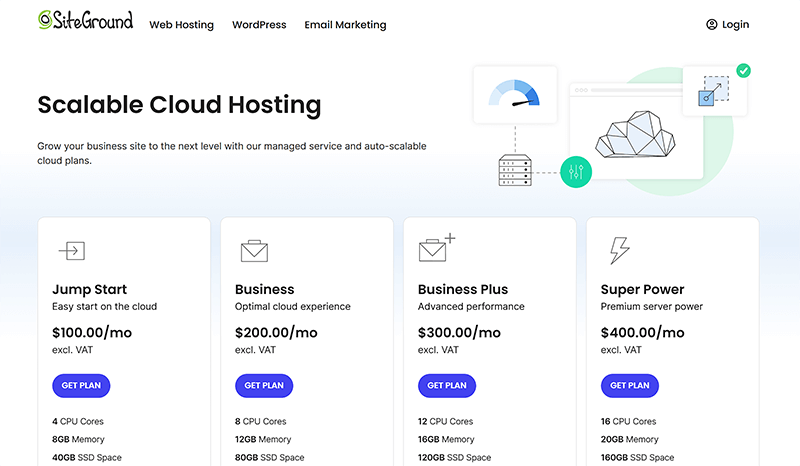
For beginners just getting started with Google website development, choosing a user-friendly, stable, and well-supported hosting server is extremely important. SiteGround, as a globally recognized hosting service provider, has become the top choice for many new users thanks to its clean interface, powerful automation features, and excellent technical support. First, SiteGround offers one-click installation of WordPress, allowing users to build their own Google website with just a few simple clicks, without needing to understand complex server configurations. In addition, its backend management interface (Site Tools) is more intuitive than the traditional cPanel, enabling users to easily manage domains, SSL certificates, files, and databases. Even beginners with no technical background can quickly get started.
Secondly, SiteGround offers automatic updates and website backup features to ensure the website always runs in the latest and most secure environment. Users do not need to manually update the system or plugins, avoiding website crashes caused by technical errors. Meanwhile, the free daily backup function allows users to restore website data at any time, providing strong security assurance for beginners. In addition, SiteGround integrates Cloudflare CDN and built-in caching technology to automatically optimize website loading speed and enhance user experience. For users without server optimization experience, these features can significantly improve website performance without the need for additional technical intervention.
2、High-performance Google Website Hosting Server: BandwagonHost High-performance VPS
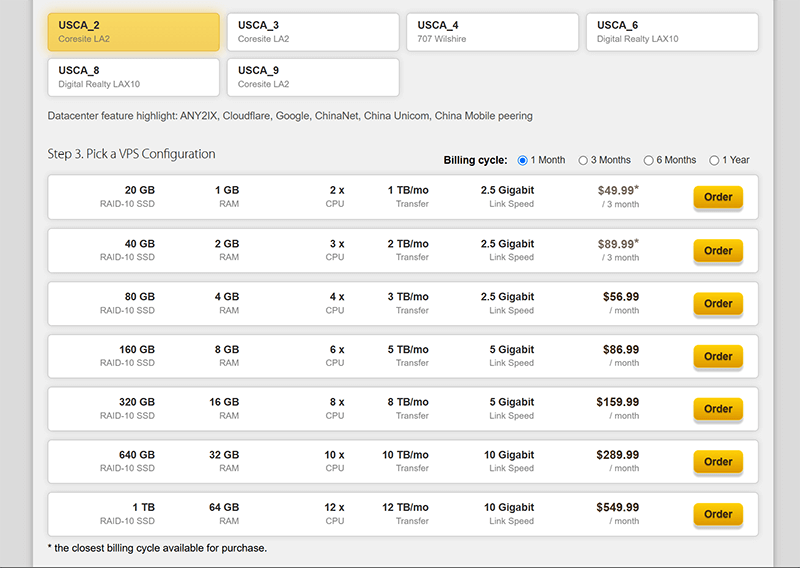
For website businesses that pursue faster loading speeds and higher stability, choosing a high-performance VPS (Virtual Private Server) has become an ideal solution for optimizing a Google-based website. BandwagonHost, as a highly acclaimed VPS hosting provider in the industry, has become the top choice for many cross-border e-commerce website businesses due to its excellent hardware performance, ultra-fast network connectivity, flexible configuration options, and high cost-effectiveness. Firstly, BandwagonHost provides powerful computing resources. Its high-performance VPS models are typically equipped with NVMe SSDs and high-end AMD or Intel processors. Compared to standard SSD storage, NVMe offers much faster read and write speeds, significantly reducing page load time and providing users with a smoother experience when accessing the website.
Secondly, in terms of network optimization, some models from BandwagonHost offer CN2 GIA routes, which are optimized for access from China, significantly reducing latency and ensuring faster speeds when Chinese users visit a Google-based website. Additionally, for websites targeting the European and American markets, BandwagonHost provides VPS solutions in multiple global data centers (such as the United States, Western Europe, and Asia), allowing site owners to select the optimal data center based on their target audience and enhance the access experience for overseas users. Lastly, for server management, BandwagonHost allows users to choose their preferred operating system (such as Ubuntu, CentOS, Debian) and supports one-click reinstallation, enabling developers to freely build a server environment that best suits their business needs. Meanwhile, its built-in snapshot and backup functions allow site owners to restore data at any time, reducing risks caused by operational errors or system failures.
Ⅳ、Website Design and Development — Building Your Unique Google Website

In this chapter, we will focus on the custom design development model for Google websites, rather than simple template-based website building. While template-based website building can quickly set up a site, its limitations lie in the lack of personalized brand representation, making it difficult to meet the needs of websites in terms of user experience, SEO optimization, and functional expansion. On the other hand, custom development can tailor the website according to brand features and business models, making it more competitive in both visual design and functionality. To help you clearly understand the core process of custom website development, this chapter will cover three key aspects: website page visual planning, website functionality planning, and finding a website development company to outsource the work. Whether you plan to develop the site yourself or hire a professional team, this chapter will provide you with clear ideas and actionable guides to help you build a high-quality Google website that truly reflects your brand’s uniqueness.
1、Website Page Visual Planning

Website Page Design should start with the visual aspect, as effective visual planning not only shapes brand image but also enhances user experience, increases visitor retention time, and boosts conversion rates. The core of visual design includes overall layout, color scheme, font selection, and user interface (UI) design. These elements work together to determine the professionalism of the website and the quality of the user’s browsing experience. First, the overall layout of the website should align with users’ browsing habits to ensure a clear information structure with well-defined priorities. In Google website design, well-structured navigation bars, clean page layouts, and responsive designs ensure that users across various devices enjoy a seamless browsing experience. Second, the choice of color scheme plays a key role in brand communication. Colors affect not only the visual appeal of a website but also subconsciously convey brand personality. For example, blue is commonly used for tech websites to convey professionalism and trust, while orange and red are more attention-grabbing and action-oriented, making them suitable for e-commerce websites. When creating a color scheme, it's recommended to follow the "primary color + secondary color + accent color" principle to ensure consistency and avoid visual clutter, while aligning with the brand tone.
Font choice is also an important factor affecting user experience. Different font styles convey different brand atmospheres. For example, serif fonts (like Times New Roman) are suitable for formal, high-end brands, while sans-serif fonts (like Roboto and Open Sans) are more modern and minimalist. For Google websites, it is recommended to use open-source fonts provided by Google Fonts, which ensures global compatibility and avoids potential issues with font loading that could affect webpage speed. Lastly, user interface (UI) design should focus on interactive experience, ensuring that users can quickly find the information they need and easily complete their intended actions. The size and placement of buttons, image resolution, spacing, and use of animations all affect user browsing comfort. Proper use of whitespace can reduce the visual burden on the page, making the overall design cleaner and more readable. Additionally, ensuring that the color, copy, and layout of Call-to-Action (CTA) buttons effectively guide users to perform desired actions, such as purchasing, registering, or making inquiries, will help improve the website's conversion rate.
2、Website Function Planning

In the development process of Google websites, functionality planning is a key aspect to ensure the site enhances user experience and achieves business goals. An excellent website not only needs to have basic page display functions but also needs to incorporate a range of powerful interactive features based on business requirements, in order to improve user conversion rates, optimize marketing effectiveness, and enhance the website's scalability. This section will focus on the following core features, helping Google websites gain stronger competitiveness and better user experience.
(1) Global form button - improve user interaction efficiency
Global form buttons are essential interactive components on a website, typically used for contact inquiries, quote requests, email subscriptions, and more. An optimized form should feature a clean design, clear fields, and instant feedback functionality to lower the barrier for users to fill it out. Tools like WPForms or Contact Form 7 can be integrated to ensure users can easily submit information, while also connecting with backend CRM systems (such as HubSpot and Salesforce) to enable automated management.
(2) Fixed information bar on article page - enhancing content marketing conversion rate
In content marketing-driven websites, fixed information bars on article pages can effectively increase user dwell time and promote conversions. This module is typically located in the sidebar or at the end of the article, displaying important CTA (Call-to-Action) buttons such as "Subscribe to Newsletter," "Download PDF," or "Get Free Consultation." Additionally, related content recommendations can be embedded to encourage users to read further, thus enhancing internal traffic flow.
(3) Online quotation system - improving service consultation efficiency
For websites offering customized services or complex products, an online quote system can allow customers to quickly obtain estimates, thereby increasing conversion rates. This system can be implemented through customized front-end and back-end development, enabling users to fill out their requirements, automatically calculate quotes, and support automatic email responses. Additionally, integrating Google Analytics to track user submission behavior helps optimize the quoting process and improve marketing accuracy.
(4) WooCommerce product management and sales system - creating complete e-commerce functions
WooCommerce is the most powerful eCommerce plugin for WordPress. It enables websites to implement product management, shopping cart functionality, payment processing, and order management. For cross-border eCommerce, WooCommerce also integrates international payment methods such as PayPal and Stripe, and supports various logistics plugins to achieve global shipping. By combining SEO techniques to optimize product pages, it can also improve product rankings in Google search results, bringing in more organic traffic.
(5) Multi-language support - expanding international markets
Google websites target the global market, so multi-language support is an essential feature. By using WPML (WordPress multilingual plugin) or TranslatePress, you can easily create multilingual pages with support for both automatic and manual translation switching. In addition, to enhance SEO performance, you can use lang and hreflang tags to help Google identify different language versions of your pages and improve search rankings across different regions.
(6) Advanced search function - improving user search efficiency
As the website content and number of products grow, a basic on-site search function may no longer meet the needs. Advanced search capabilities can offer enhanced experiences such as intelligent suggestions, keyword associations, and category filtering. By developing custom code for advanced search or using plugins like Relevanssi and SearchWP, you can optimize the search results of WordPress websites, provide more accurate matches, and improve the efficiency of users finding the content they need.
(7) Product Filters - Optimizing User Shopping Experience
For e-commerce websites, product filters are an essential feature to enhance the shopping experience, especially when the website contains a large number of products. By using the WooCommerce Product Filters plugin, users can quickly filter products by price, brand, color, category, stock status, and more, improving shopping efficiency and reducing bounce rates.
(8) File Download Center - Providing professional resource support
If a website needs to provide documents, white papers, product manuals, or software installation packages for download, then a file download center is an essential feature. By custom developing the style and functionality of the file download center on the website or using the Download Monitor or Easy Digital Downloads plugins, a centralized download management system can be created. It supports permission control, download statistics, limited-time downloads, and more, ensuring that users can easily access relevant resources while allowing the website owner to track download data efficiently.
3、Finding a Website Development Company — Professional Teams to Help You Build a High-Quality Website
In the process of building a Google website, choosing the right development company is crucial. A professional website development team can not only provide high-quality code and design but also ensure the site has a good user experience, SEO friendliness, and efficient operational capabilities. For businesses or individuals looking to create a customized website, finding an experienced development company can greatly reduce technical barriers during the development process and improve the site's stability and conversion rate.
(1)Why choose a professional development company?
Although there are many DIY website builders and template-based solutions available on the market, for websites with brand positioning needs, custom functionality requirements, or those aiming for long-term growth, the involvement of a professional development team is essential. Website development is not just about building pages; it also involves server architecture optimization, front-end and back-end development, SEO optimization, performance tuning, security protection, and other technical aspects. A professional development team can provide a complete technical solution, ensuring the website not only has an attractive design but also runs efficiently and supports future marketing efforts.
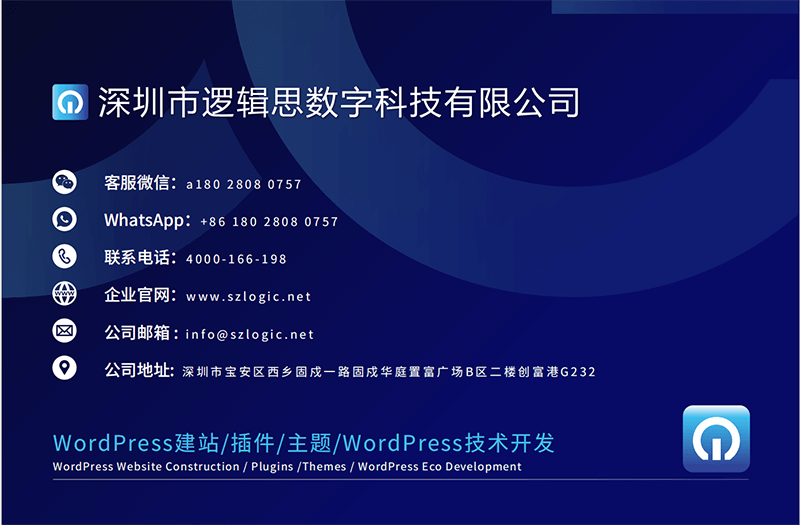
(2) Logic Digital Technology - Professional customized independent website development services
As a professional development company deeply engaged in the field of cross-border e-commerce and foreign trade websites, Logic Digital Technology (SZLOGIC) is dedicated to providing enterprises with high-performance Google website development services that meet international market demands. With extensive industry experience and a professional technical team, we offer comprehensive solutions covering website planning, visual design, functional development, SEO optimization, and post-launch maintenance.
(3) The core advantages of Logic Digital Technology
Customized development to create a unique brand image
Logic Digital Technology focuses on custom website development. Unlike template-based solutions available in the market, we tailor high-end websites that align with clients’ brand positioning, industry needs, and target audience. Whether it’s a corporate website, e-commerce platform, or B2B business showcase site, we provide unique VI/UI/UX designs to ensure the website is not only visually appealing but also highly recognizable for the brand.
High-performance optimization ensures a smooth browsing experience.
A high-conversion Google website must have fast loading speed, smooth user interaction, and a stable operating environment. LogicThink Digital Technology deeply optimizes both the frontend and backend architecture of the website, utilizing lightweight code, CDN acceleration, Lazy Load technology, and server optimization to ensure that the website loading speed meets the best standards of Google PageSpeed Insights. At the same time, we assist clients in selecting suitable hosting servers, such as SiteGround (ideal for startups) and BandwagonHost (suitable for high-performance needs), providing optimal performance support for websites of different scales.
SEO Optimization to Boost Google Search Rankings
A successful Google website not only requires excellent visual design and functionality, but also must possess strong SEO competitiveness. During the development process, LogicThink Digital Technology deeply optimizes the website structure to align with Google’s SEO guidelines, including Schema Markup, Mobile-Friendly Design, PageSpeed Insights optimization, Sitemap, and robots.txt configuration. These ensure that the website achieves better rankings in Google search results and continuously attracts organic traffic.
Ⅴ、Submit Website to Google Search Engine — Start Your SEO Journey

To truly unlock the potential of a Google website and gain organic traffic from Google search, the first step is to submit the website to Google for crawling and indexing. Only by successfully submitting the website can Google recognize its content and display it in search results, bringing in a continuous flow of potential users. The core tool for Google website submission is Google Search Console, an official webmaster tool provided by Google. It helps website owners monitor their site’s performance in search engines. With Google Search Console, not only can you submit the website URL, but you can also manually request Google to crawl and index specific pages. Additionally, users can track important SEO data such as search rankings, click-through rates, indexing status, mobile compatibility, and core web vitals. In this chapter, we will provide a detailed guide on how to use Google Search Console to submit a website and ensure it is successfully added to Google’s index.
1. Google Search Console submit website (add resources) entrance
入口.png)
After logging in with your Google account and successfully linking to Google Search Console, you will be directed to its main interface. In the main interface, you will find various site management tools provided by Google Search Console, including website performance analysis, indexing coverage, page experience, and more. To add a website to Google Search Console, you need to click the "Add Property" button at the top of the left sidebar (as marked in the red box in the image above). This button allows you to add a website property, enabling Google to recognize and track your site’s data. After clicking, the system will prompt you with the website property verification interface, where you can choose the method that works best for you, such as the "Domain" or "URL prefix" mode.
2. Two types of resource types for submitting websites in Google Search Console
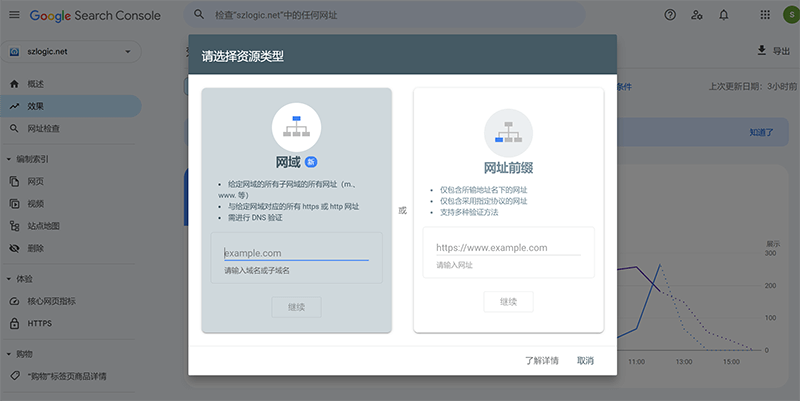
When submitting a website to the Google search engine, Google Search Console offers two different property submission methods: "Domain Submission" and "URL Prefix Submission." These two methods determine how Google manages and indexes your site and affect the comprehensiveness and scope of data tracking. Choosing the right submission method is crucial. If you want Google to track all content across the entire domain, including subdomains, it is recommended to use Domain Submission. If you only need to manage a specific main domain or subdomain, you can choose URL Prefix Submission. Below, the blogger will explain in detail the differences between these two methods and their appropriate use cases.
(1) Domain submission (Domain method) - suitable for global domain management
Domain submission is a verification method that uses DNS records and applies to an entire website, including all its subdomains and protocols. Once the domain is submitted, Google will automatically include all subdomains, such as www.example.com and blog.example.com, and support both HTTP and HTTPS versions of all pages. This allows website owners to manage SEO data in a unified way and ensures comprehensive coverage of all site content. This method is especially suitable for users who wish to manage SEO for the entire website consistently. With domain submission, it's possible to comprehensively track the website’s search performance and access complete data analytics without having to submit each subdomain or protocol version separately. Additionally, since domain submission relies on DNS record verification, it is only applicable to website owners with domain management permissions.
Domain submission steps:
- Step 1: Select the 'Domain' option and enter your primary domain name (e.g. example.com).
- Step 2: Google will generate a TXT record, which needs to be added to the domain name DNS resolution settings.
- Step 3: Add the TXT record in the domain name management backend (such as GoDaddy, Namecheap) and save it.
- Step 4: Return to Google Search Console and click "Verify" to complete your submission.
(2) URL Prefix Submission - Suitable for Specific URL Management
URL prefix submission is a verification method based on the specific URL structure and only applies to the URL and its subpaths that are submitted. For example, if you submit https://www.example.com/, Google will only track the content under that prefix and will not include http://example.com or other subdomains. This method is more suitable for users who need to monitor and manage SEO for specific directories. For website owners managing multiple sub-sites with different URL structures, URL prefix submission provides more granular control, allowing each sub-site’s data to be tracked separately without having to manage the entire domain. Additionally, this method does not rely on DNS records for verification, making it suitable for users without DNS access. Ownership verification can be done through HTML files, meta tags, or Google Analytics.
URL submission steps:
- Step 1: Select the 'URL Prefix' option and enter the full URL (including http:// or https://).
- Step 2: Select a verification method (e.g. HTML file, HTML tag, Google Analytics, Google Tag Manager).
- Step 3: Once you've completed the verification process as instructed, Google will begin indexing the pages under that URL structure.
Ⅵ、Create a Google Ads Account — Unlock the Power of Google Advertising

In the operation of a Google website, Google Ads is an essential tool for acquiring precise traffic, enhancing brand visibility, and driving sales conversions. With Google Ads, websites can run a variety of promotional campaigns, such as search ads, display ads, shopping ads, and video ads, to precisely reach their target audience. To successfully use Google Ads for marketing, you first need to open a Google Ads account using your Google account. This process involves not only basic account registration but also setting up the ad account, linking billing information, and configuring initial ad campaigns. Only after completing these steps can a website officially enter the Google ecosystem and quickly acquire potential customers through paid promotions. In the following section, the blogger will provide a detailed guide on how to set up a Google Ads account.
1、Access Google Ads (Google Marketing)
.png)
By visiting the Google Ads homepage in your browser, you will be directed to the page shown above. Click the "Get Started" button in the upper right corner of the page (highlighted in the red box in the image above) to begin the process of creating a Google Ads account.
2. Google Ads account opening process
(1) Google Ads account opening step 1: identity verification

As shown in the image above, after clicking the "Start Now" button on the Google Ads homepage, the page will take you to the current identity verification screen. If your Chrome browser is already logged into your Google account, the system will automatically recognize the Google account. Therefore, no additional action is required; simply click the "Next" button to proceed with the process.
(2) Google Ads account activation step 2: Enter your Google account password to complete identity verification

As shown in the image above, this is the key step for Google account password verification. After entering the correct password, click the "Next" button to submit the verification. Once the identity is verified, the Google Ads account setup process is successfully completed. The system will then automatically redirect you to the management homepage of the ad account, as shown in the example image below. The entire setup process is simple and quick, requiring no complicated actions, allowing users to quickly proceed to the stage of setting up their ad account.
(3) Successfully open a Google Ads account and enter the homepage of the ad account

After completing the creation of the Google Ads account, a series of basic settings need to be configured. First, you need to select the billing country or region, such as Hong Kong. Next, choose the time zone; it is recommended to align it with your primary business market, as this setting cannot be changed once determined. Additionally, you will need to select the currency, with USD being the most commonly recommended option to minimize additional costs caused by exchange rate fluctuations. To officially activate the Google Ads account, you will also need to link a payment method. Common payment options include credit or debit cards (such as Visa, MasterCard), PayPal (available in certain countries/regions), and bank transfer (mainly for business accounts). After entering the payment information, Google may perform a small charge verification. Once the verification is complete, the payment method will be successfully linked, and the account will be officially activated.
Through this WordPress-based Google website guide, we have outlined the complete step-by-step process of building a Google website from scratch. This includes key stages such as Google account registration, website development, hosting configuration, search engine submission, and advertising promotion. Whether you're an entrepreneur new to the cross-border e-commerce space or a business looking to optimize your current website operations, this process provides clear direction and actionable steps. A successful Google website not only relies on professional technical development but also requires precise marketing strategies, ongoing data optimization, and stable operational maintenance. As the Google ecosystem continues to evolve, website optimization and promotion must also keep pace with changing market trends and search algorithms. We hope this guide helps you more smoothly build and operate your Google website, expand into global markets, boost brand influence, and achieve sustainable business growth. In the future, let’s continue to explore and improve together on the journey of building Google websites!
This article is copyrighted by Logic Digital Technology (SZLOGIC) . Personal sharing and learning are welcome. Unauthorized use for any commercial purposes or reproduction of this article is strictly prohibited.